
Quick Answer
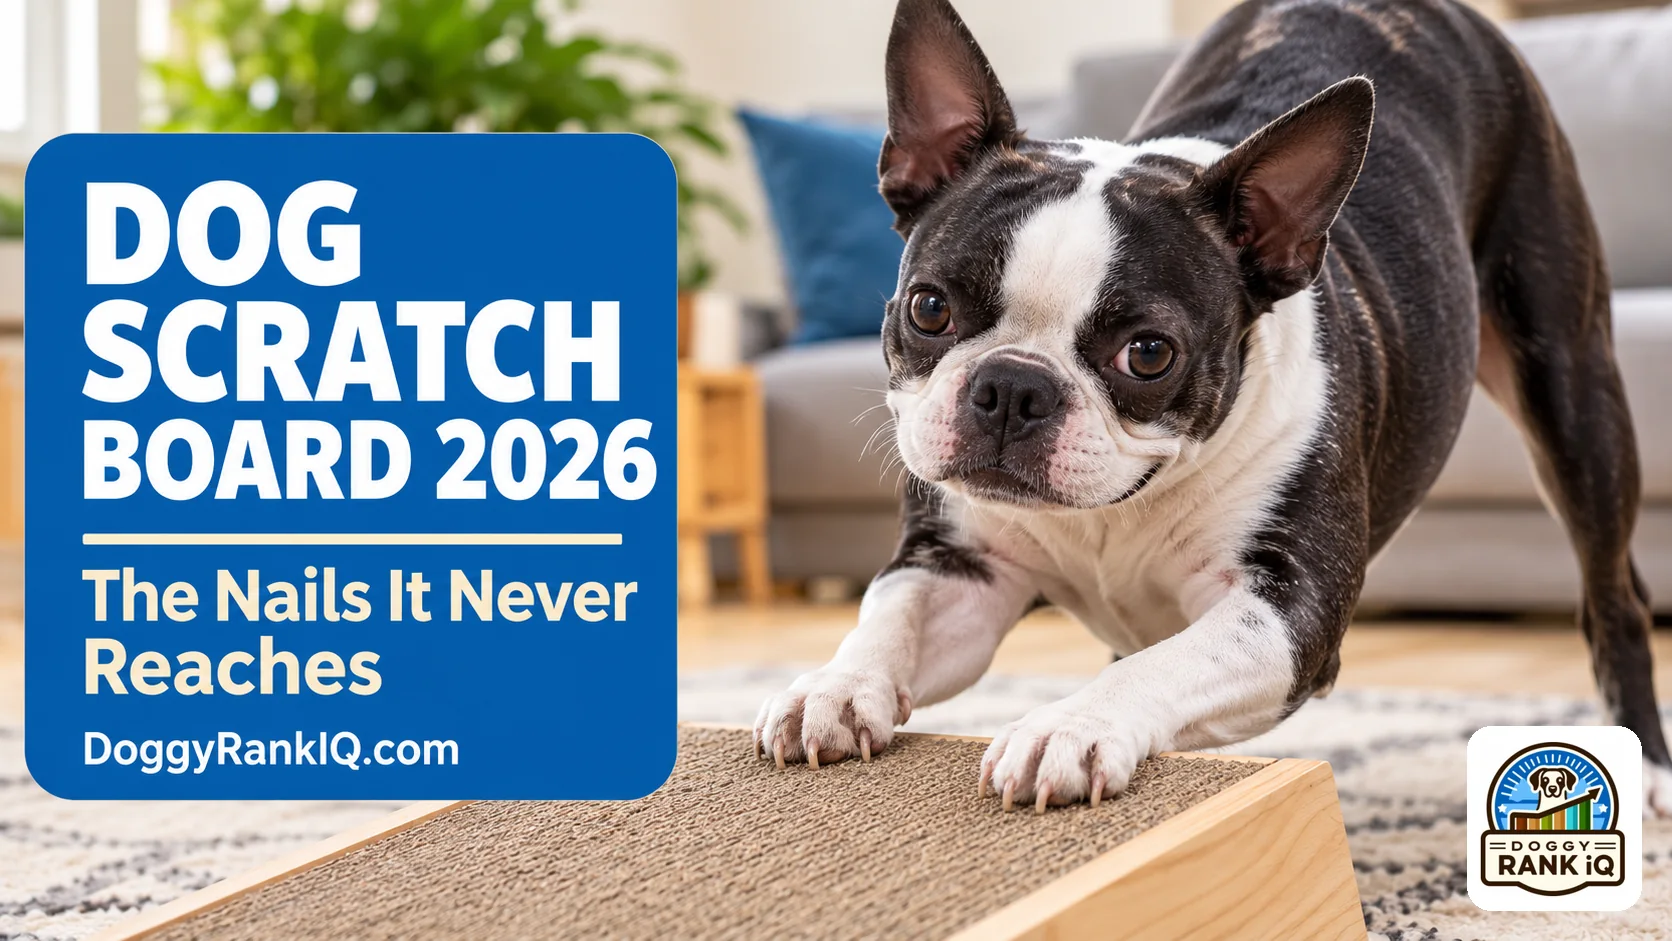
A dog scratch board is a flat or angled panel covered in sandpaper or grit that files a dog’s nails down when the dog scratches or taps it, usually for a food reward hidden underneath. A dog scratch board works well on the front nails of a paw that lands flat, but a standard flat board rarely reaches dewclaws, back nails, or the side of the nail, which is why most owners still need a clipper or grinder on hand. Expect to pay $20 to $50 for a decent board, with angled or M-shaped designs at the higher end (price checked 2026). It suits dogs who tolerate paw handling poorly more than it replaces a full nail trim.
Key Takeaways: dog scratch board
- A dog scratch board files nails through friction, not cutting, so there is no quick to nick and almost no bleeding risk.
- A flat dog scratch board mostly shortens the two or three nails on the paw that makes contact, usually front nails.
- Dewclaws and most rear nails are structurally hard for a flat board to reach because of how a dog’s paw lands when scratching.
- Angled, M-shaped, or multi-surface boards exist specifically to catch side nails that a flat board misses.
- Training a dog scratch board takes small steps: sniff, paw contact, repeated scratching, each rewarded on its own.
- A dog scratch board works as a maintenance tool between trims, not a replacement for a clipper or grinder session.
- Current marketplace prices for scratch boards run about $20 to $50, cheaper than many grinders with multiple bits.
- A DIY dog scratch board can be built from sandpaper and plywood for under $10, though it lacks a treat compartment.
- Sessions should stay short, under two minutes, and stop before the dog shows stress signs like lip licking or walking away.

What do you want it to fix?
Tap an option to see the answer.
What is a dog scratch board and how does it work?
A dog scratch board is a panel, usually wood or plastic, covered in coarse sandpaper or an abrasive grit strip, paired with a hidden or visible treat reward that motivates the dog to scratch at the surface. The scratching motion files the nail tip down the same way an emery board shortens a human nail, without any blade touching the paw.
Most boards on the market now build the reward directly into the design. Products such as the Mora Pets Nail Scratch Board use a slide-out drawer or compartment that holds treats under the abrasive panel, so the dog has to work the paw against the grit to get the food (whole-dog-journal.com). The De’ Vora Buddy Trainer uses a similar hidden-treat setup (whole-dog-journal.com). This matters because a scratch board only works if the dog stays motivated long enough to keep scratching, and food remains the most reliable motivator for most dogs.
The physics are simple. Nail material wears down under repeated light friction, the same way a nail file works on a person. There is no blade and no quick to cut, which removes the single biggest fear a lot of dogs and owners carry into nail care. Whole Dog Journal’s review of scratch pads frames this as the main appeal for “fear free” nail trims, since the tool itself cannot cause the kind of sudden pain a badly timed clip can.
Decision rule: choose a scratch board if your dog already paws at things, digs, or scratches doors, since the behavior is already in the dog’s existing movement library and just needs to be redirected onto the board.
Common mistake: owners expect one or two scratch sessions to visibly shorten nails. Filing by friction is gradual. A scratch board is closer to a daily maintenance habit than a single fix.
Related note: owners weighing a scratch board against other nail tools should also read the comparison in Dog Nail Grinder Vs Clipper, since most households end up using a board alongside one of those tools rather than instead of both.
The nails a dog scratch board never reaches
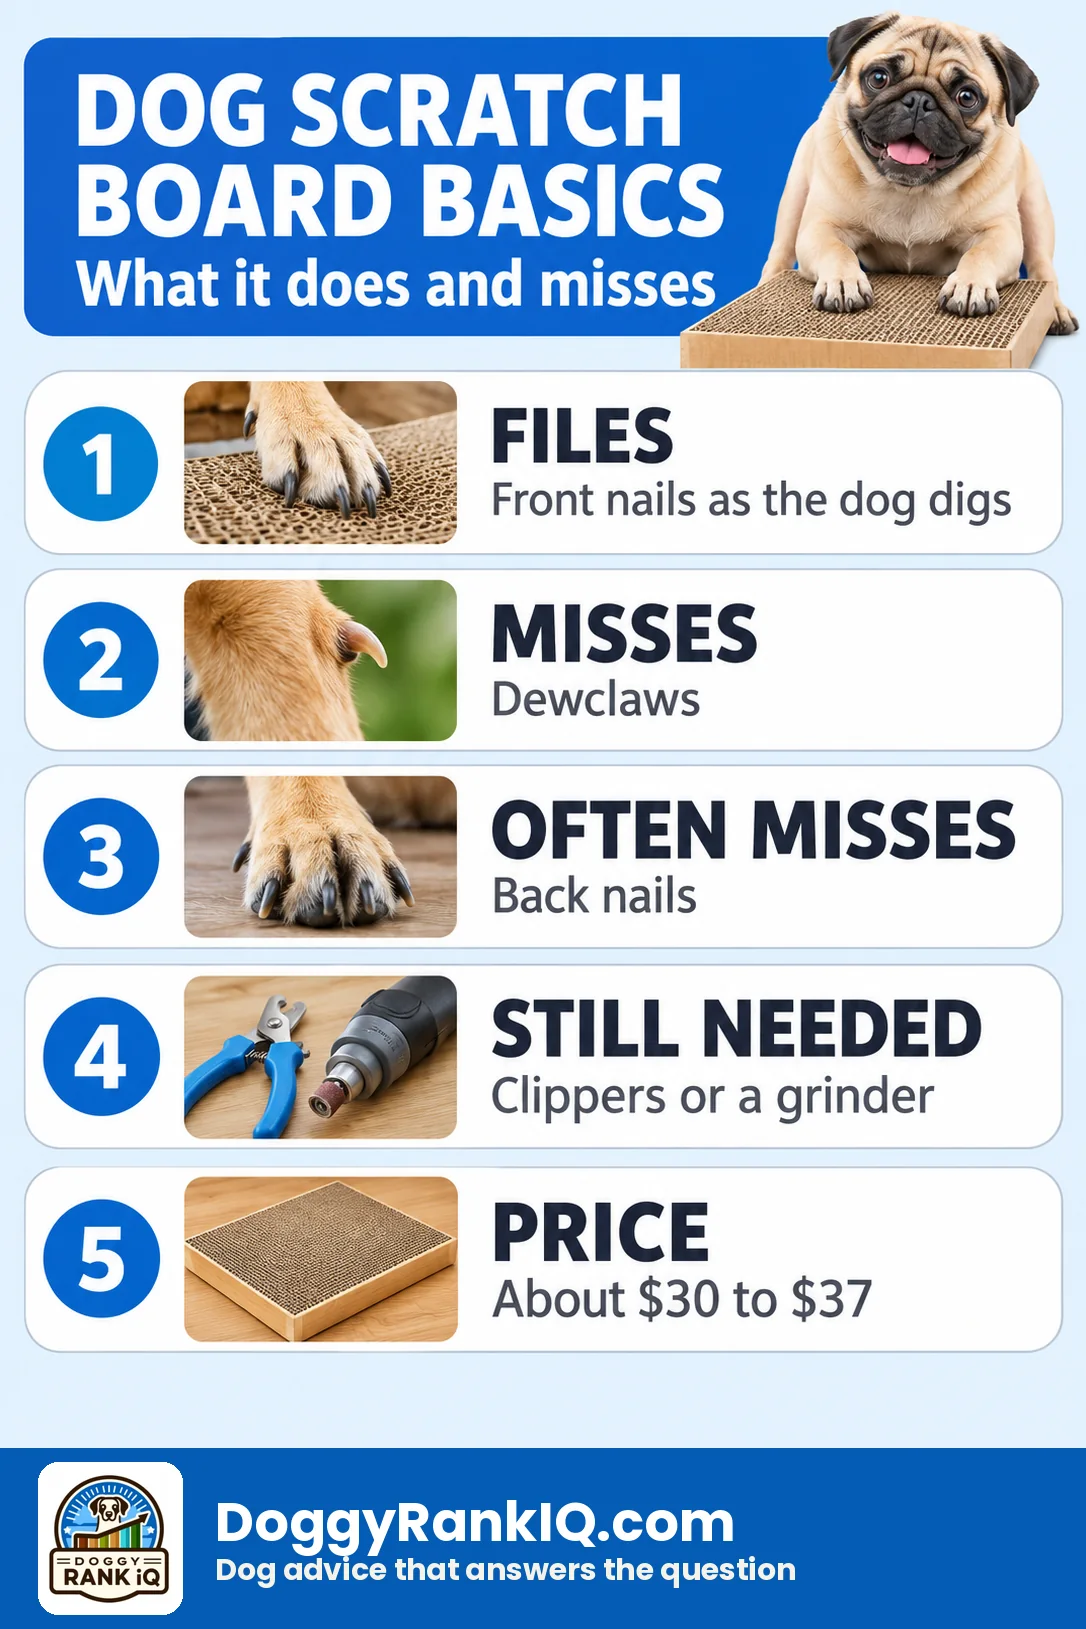
A standard flat scratch board files the nails on the paw surface that makes direct contact with the board, which for most dogs means the two or three front-facing nails on each paw. It generally misses dewclaws, it often misses rear nails, and it frequently misses the sides of the nail where growth can curve inward.
Here is why. When a dog scratches, the paw lands at an angle, with the main weight-bearing toes pressing into the surface. The dewclaw sits higher on the leg and rarely contacts a flat board at all. Rear nails get even less contact because most dogs scratch primarily with their front paws, a behavior rooted in digging and scratching motions, not rear-leg movement. And the nail itself is curved, so a flat surface only touches the bottom tip, not the sides where length can build up unevenly.
This gap is exactly why angled and M-shaped boards exist. A board shaped like an “M,” such as the M-Shaped Dog Scratch Pad with Treat Box, gives the paw multiple contact angles in a single scratching motion, which increases the odds of filing the side of the nail and not just the tip. Wooden boards with a built-in treat drawer, like the Wooden Dog Nail Scratch Board with Treat Drawer, aim at the same problem by encouraging a longer, more varied scratching motion rather than one quick tap.
Preventive Vet’s practical guidance frames scratch boards as useful for dogs fearful of clippers or grinders and for keeping nails smooth between full trims, while warning that overuse on the same spot can irritate paw pads [source: Preventive Vet]. That framing matters here: a scratch board is a between-trims tool, not a dewclaw solution.
Edge case: dogs with dewclaws that were never removed as puppies need manual dewclaw trims regardless of how good the scratch board is. No current product on the market files a dewclaw through normal scratching motion, because the claw simply does not touch the board.
Quick example: a dog that scratches a flat board daily for two weeks may show visibly shorter front nails while the dewclaws and rear nails look unchanged. That is not a failed product. That is the geometry of a flat surface meeting a curved nail.
Best dog scratch boards for different breeds
The best scratch board for a given dog depends more on paw size, weight, and scratching confidence than on breed name alone, though breed-typical traits are a useful shortcut. Small breeds like Chihuahuas or Pomeranians usually do fine on lighter, compact flat boards since their nails are thinner and need less abrasive pressure, while larger breeds like Labradors or German Shepherds benefit from sturdier wood boards with non-slip bases that can handle more forceful scratching without sliding.
- Small dogs (under 20 lbs): a lightweight flat board like the Mora Pets Nail Scratch Board (whole-dog-journal.com) is usually enough, since nails are thinner and wear down faster.
- Medium dogs (20 to 50 lbs): boards with a treat drawer, such as the Wooden Dog Nail Scratch Board with Treat Drawer, give enough surface area without being bulky.
- Large and giant breeds: an angled or M-shaped board, like the M-Shaped Dog Scratch Pad with Treat Box, holds up better under stronger scratching and reaches more of a thicker nail.
- Anxious or reactive dogs of any size: a hidden-treat design, like the De’ Vora Buddy Trainer (whole-dog-journal.com), reduces the need to hover near the dog during training.
Decision rule: if your dog weighs over 50 pounds and scratches with real force, skip the lightest boards. A board that skids across tile during use will undo training progress fast.
How to train your dog to use a scratch board
Training a scratch board works best as a shaping exercise: reward small steps toward the full behavior instead of waiting for the dog to figure it out alone. The American Kennel Club’s 2026 guidance recommends rewarding investigation of the board first, then cuing a paw behavior like “shake” so the paw lands on the abrasive surface, gradually alternating paws [source: AKC].
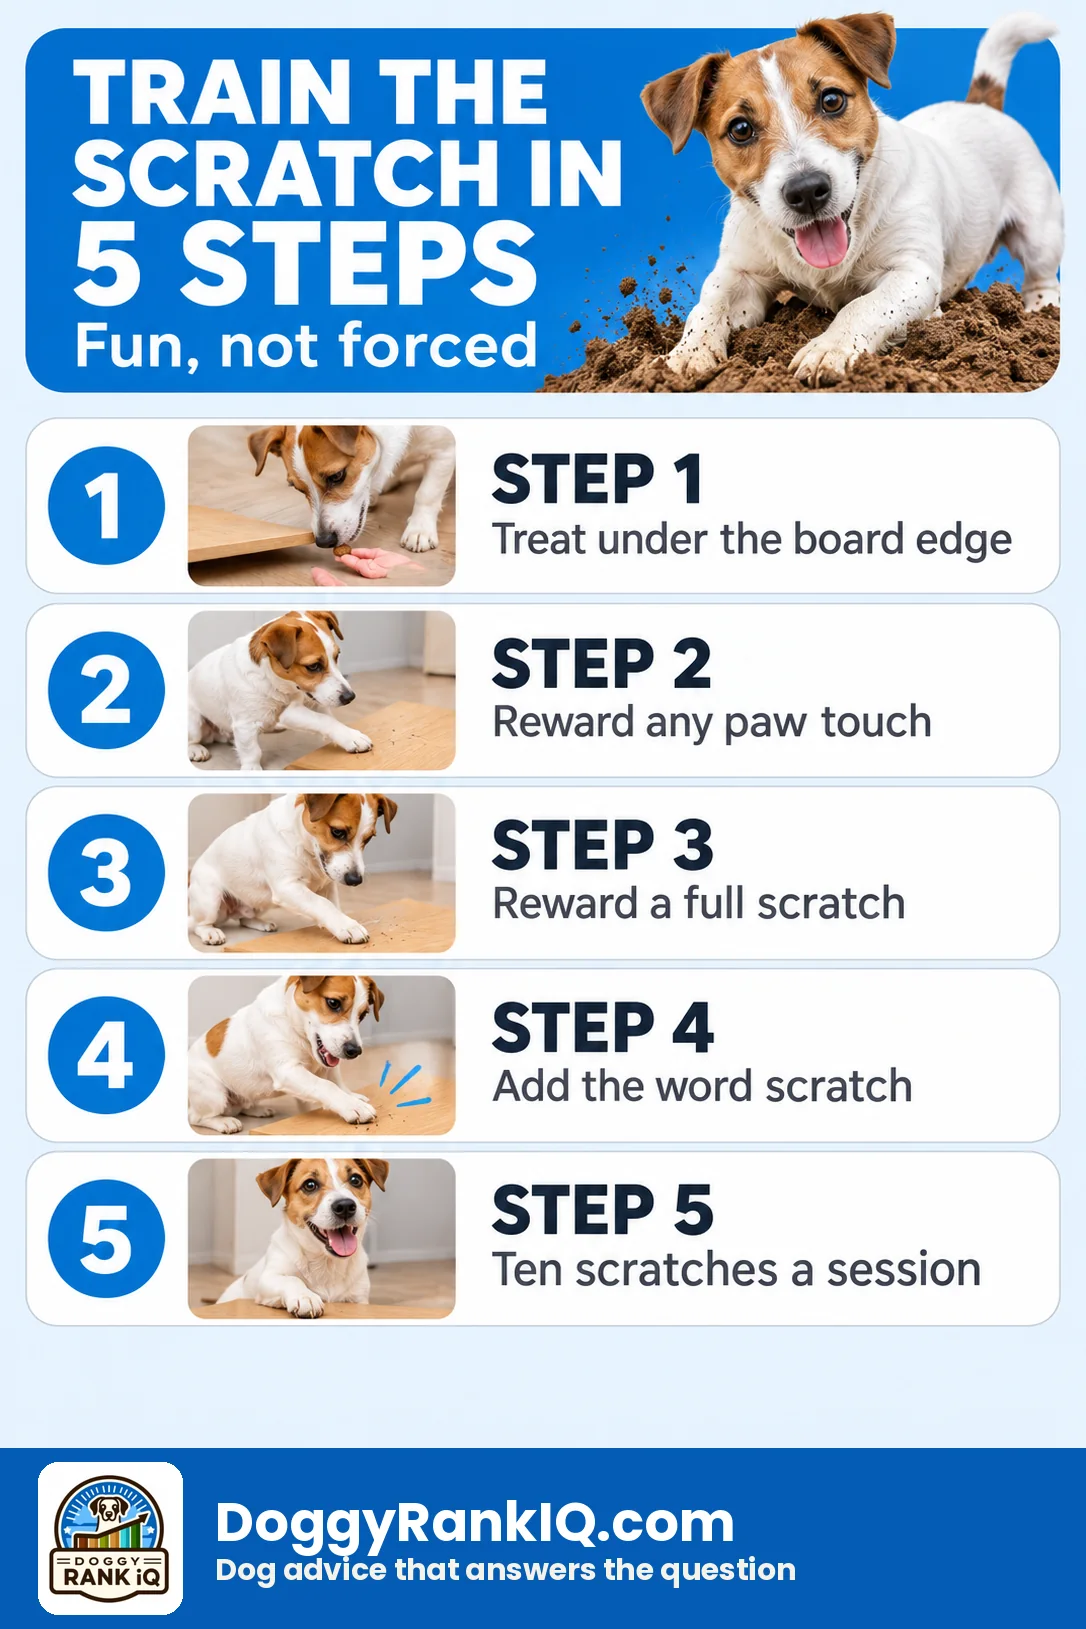
- Let the dog sniff the board with no pressure. Place the board on the floor, drop a treat near it, and let curiosity do the work. No scratching is required yet.
- Reward any paw contact. If the paw brushes or taps the board, mark it (a clicker or a verbal “yes”) and reward immediately. This step can take one session or several, depending on the dog.
- Shape toward a deliberate scratch. Use a known cue like “shake” or “paw” directed at the board instead of your hand, so the dog’s existing paw-target behavior transfers onto the abrasive surface.
- Reward a full scratching motion, not just contact. Once the paw lands and briefly rubs, reward that specific motion. This is the behavior that actually files the nail.
- Alternate paws over several sessions. Repeat the same shaping on the other front paw. Most dogs will not generalize automatically from one paw to the other.
- Fade the constant reward to an intermittent one. Once the dog offers the scratch reliably, reward every second or third attempt instead of every single one, which keeps the behavior durable.
Cornell’s Riney Veterinary Center cooperative-care guidance, published 2026, backs the same approach: handle paws when the dog is relaxed, pair tools with small frequent rewards, and stop before the dog shows distress [source: Cornell Riney Veterinary Center]. This is cooperative care nail trim thinking applied directly to a board instead of a clipper. For owners working on broader handling skills alongside nail care, a beginner’s guide to dog grooming covers the same gradual-exposure approach for brushing, ears, and bathing.
Common mistake: forcing the paw onto the board. The Veterinary Information Network notes that operant conditioning works because the dog offers the behavior and participates voluntarily; physically placing the paw turns the exercise into restraint, which undoes the point of using a board in the first place [source: VIN].
Why won’t my dog use the scratch board?
Most dogs refuse a scratch board for one of three reasons: the surface feels unfamiliar and slightly unstable, the reward is not motivating enough, or early sessions moved too fast toward full scratching before the dog built confidence with simple paw contact. Troubleshooting usually means going back a step, not pushing harder.
- The board slides or wobbles. Add a non-slip mat underneath before blaming the dog. A board that moves under the paw feels unpredictable and dogs often avoid repeating a behavior that felt unstable.
- The treats are too low value. Standard kibble often is not enough for a new, slightly odd-feeling surface. Switch to a high-value treat, like small pieces of cooked chicken, for the first several sessions.
- Sessions jumped ahead too fast. If a dog never got reinforced for simple sniffing or light paw contact, it has no reason to keep trying. Restart at step one of the training sequence.
- The abrasive surface feels too rough or too sharp underfoot. Some dogs are sensitive to texture on paw pads. A worn-in board, or one with a slightly finer grit, can help.
- The dog associates the area with something stressful. If the board sits near a loud appliance or a crate the dog dislikes, move it to a calmer spot in the house.
Edge case: some dogs simply never take to scratch boards regardless of technique, often dogs with low food motivation or strong aversion to paw-focused tasks. For those dogs, a grinder session paired with cooperative care handling, as described in Cornell’s guidance above, may be a more realistic path than forcing board use.
Dog scratch board vs scratching post: which is better?
A scratch board is built specifically for nail maintenance through controlled, rewarded scratching, while a scratching post style product (more common for cats, though some exist for dogs) is built for general scratching behavior without the same focus on filing nail length evenly. For nail care specifically, a scratch board is the better tool because it combines an abrasive surface with a reward system designed to produce repeated, controlled contact.
A vertical or freestanding scratching post gives a dog an outlet for a natural behavior but does not reliably file nails, since the dog controls the angle and pressure with no guided motion toward the nail tip. A scratch board, by contrast, is flat or angled specifically so the paw lands in a predictable position against the grit.
Decision rule: choose a scratch board if the goal is nail length and texture. Choose a scratching post or similar outlet only if the goal is behavioral enrichment, and plan on a separate nail tool regardless.
Do dog scratch boards help with nail maintenance?
Yes, a scratch board helps maintain nail length between full trims, mainly on the front nails that make direct contact with the abrasive surface, but it is not a complete nail care solution on its own. The Spruce Pets’ review of scratch pads notes that consistent short sessions can keep front nails from reaching the floor-clicking length that signals overgrowth, which is a reasonable bar for day-to-day maintenance.
The maintenance value comes from frequency, not intensity. A dog that scratches a board for even 30 to 60 seconds daily gets more consistent filing than a dog that only sees a clipper once a month. That said, dewclaws, rear nails, and nail sides still need a clipper or grinder on a routine schedule, as covered earlier in this guide.
Are scratch boards good for senior dogs?
Scratch boards can work well for senior dogs, but owners should watch for reduced grip strength, arthritis, and balance issues that make standing and scratching harder than it was for the same dog at a younger age. A low-profile board placed on a non-slip surface, with the dog in a comfortable stance rather than reaching or stretching, is usually the safer setup.
- Keep sessions shorter than the standard two minutes if the senior dog tires quickly.
- Avoid boards that require a stretched or elevated paw position, since this can strain joints.
- Watch for signs that scratching has become uncomfortable rather than just unfamiliar, such as shifting weight off a limb or reluctance to put weight on a paw after the session.
- If arthritis is diagnosed, ask a veterinarian whether scratching motion is appropriate at all, since some joint conditions make any repetitive paw loading uncomfortable.
Edge case: a senior dog recovering from a paw or leg injury should not use a scratch board until cleared by a veterinarian, since the repetitive motion puts load directly on the paw and wrist joint.
Can you use a scratch board on all dog sizes?
Most dog scratch boards on the market work across a wide size range, but very small toy breeds and giant breeds sit at the two edges where fit matters most. A board sized for a 10-pound dog may not give a 90-pound dog enough surface area to land a full paw, while an oversized board can feel intimidating to a small dog just starting out.
Check the listed dimensions before buying, and favor boards with adjustable or larger treat compartments for bigger dogs, since a tiny treat well can frustrate a large dog that expects a bigger reward for a bigger effort.
Buy one or build one: dog scratch board DIY vs store picks
A scratch board DIY version can be built for under $10 with plywood and sandpaper, while a store-bought board with a treat compartment runs $20 to $50 and adds features a homemade version usually lacks, like a slide-out drawer or an angled surface.
DIY dog scratch board: how to make one
A basic DIY scratch board needs a flat piece of wood, a strip or two of coarse sandpaper (80 to 100 grit is common), and a way to anchor it so it does not slide, like rubber feet or a non-slip mat underneath.
- Cut a piece of plywood or a scrap wood board to roughly 12 by 8 inches, large enough for a front paw to land fully.
- Sand any sharp edges smooth so the board is safe to handle.
- Cut sandpaper strips to fit the top surface and attach with strong adhesive or staples along the edges, avoiding staples in the center where a paw will press.
- Attach rubber feet or glue a thin non-slip mat to the underside.
- Place a small dish or smear of a pet-safe spread near the sandpaper to encourage paw contact, refreshing it manually since there is no built-in drawer.
The tradeoff is real: a homemade board has no treat compartment, so the owner has to manually place and refresh treats near the abrasive strip, and there is no angled surface to catch side nails.
| Option | Shape | Treat feature | Price (checked 2026) |
|---|---|---|---|
| DIY plywood board | Flat | None, manual placement | Under $10 |
| Mora Pets Nail Scratch Board (whole-dog-journal.com) | Flat | Built-in compartment | $19.99 |
| Wooden Dog Nail Scratch Board with Treat Drawer | Flat with drawer | Slide-out drawer | $29.99 |
| De’ Vora Buddy Trainer (whole-dog-journal.com) | Flat | Hidden treat well | $29.99 |
| M-Shaped Dog Scratch Pad with Treat Box, Large | M-shaped, angled | Treat box | $36.99 |
Decision rule: build a scratch board DIY version if your dog is easily spooked by novel objects and you want to test interest before spending money. Buy a store model with a treat compartment if your dog already engages with puzzle feeders or slow feeders, since the mechanism is familiar.
⭐ Top 5 Features We Love
- Hidden treat compartments. Boards from brands like Mora Pets and De’ Vora build the reward directly under the abrasive surface, which keeps the dog engaged with the board instead of waiting for a handed treat (whole-dog-journal.com).
- Non-slip bases. A board that slides across the floor mid-scratch teaches a dog to avoid it. Rubber feet or a grip pad underneath keep the session stable.
- Angled or M-shaped surfaces. Designs that give the paw more than one contact angle catch more of the nail than a single flat panel, addressing the side-nail gap described above.
- Replaceable sandpaper strips. Boards with swappable grit panels, like the wooden scratch board with replaceable sandpaper (thesprucepets.com), last longer and let owners adjust coarseness as the dog’s nails change.
- Compact, lightweight builds. Most boards weigh under two pounds and store flat, which matters for apartment owners who do not want a permanent grooming station taking up floor space.
⚠️ Things to Look Out For
- Paw pad irritation from overuse. Preventive Vet specifically warns that repeated use on the same spot can irritate pads, so rotate paws and keep sessions short [source: Preventive Vet].
- False confidence about full nail coverage. A board that reaches only front nails can leave an owner assuming nail care is handled when dewclaws and rear nails are still growing untouched.
- Sandpaper grit wearing down over time. A board that worked well in month one may stop filing effectively in month three if the grit smooths out, especially on boards without a replaceable strip.
- Treat compartments that are too easy or too hard. If the treat drops out with minimal scratching, the dog gets no real filing benefit. If it is too hard to access, the dog may give up before the reward.
- No regulatory performance standard exists yet. In the EU, non-food pet accessories like grooming tools fall under the General Product Safety Regulation in effect since December 2024, which covers general safety and traceability, not a scratch-board-specific performance test [source: Legal 500]. Buyers are relying on manufacturer claims and owner reviews, not an independent standard.
How often, how long, and when to stop
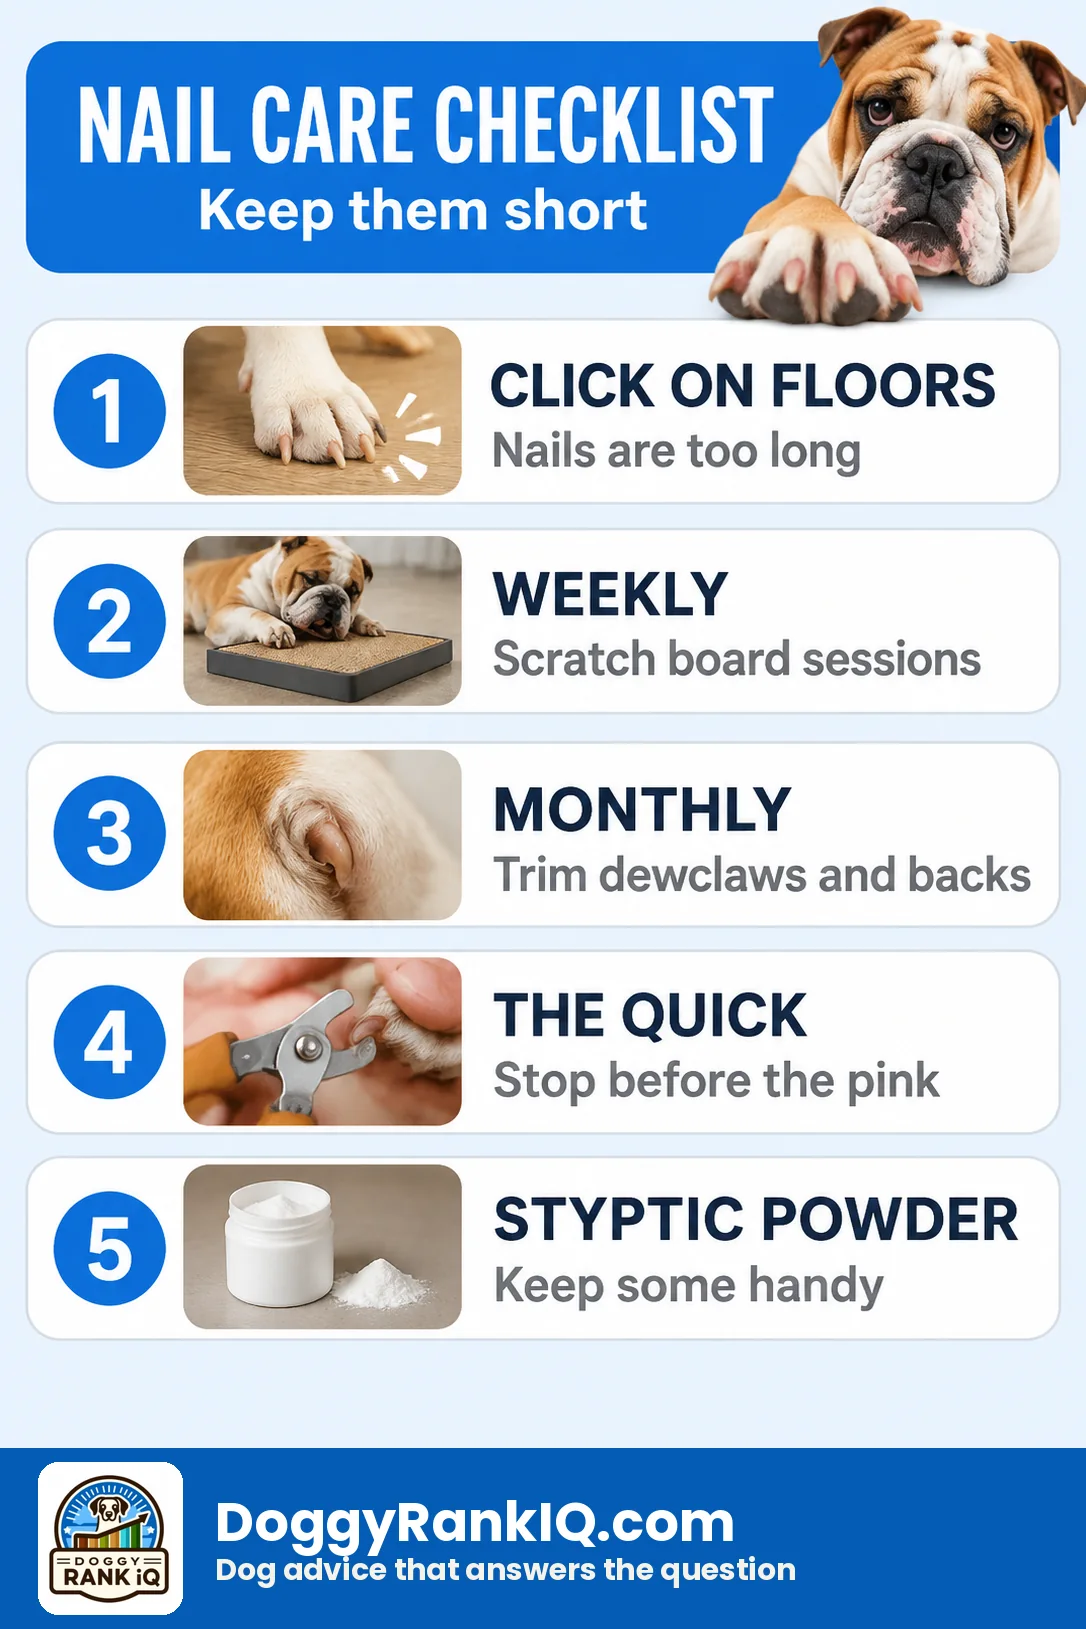
Most owners can offer a scratch board daily, keeping each session under two minutes, and should stop as soon as the dog shows stress signs like lip licking, yawning, or walking away. This fits the same framework VCA uses for nail care generally: short, positive exposures beat long forced sessions [source: VCA].
Clippers typically handle a full trim roughly every 3 to 4 weeks for most dogs, though some need weekly attention depending on growth rate and activity level on hard surfaces [source: VCA]. A scratch board fits into the weeks between those trims, maintaining front-nail length and giving a nervous dog a low-stress way to stay involved in its own nail care. It does not replace the full trim, because it cannot reach dewclaws, most rear nails, or the full curve of each nail. For owners building a complete grooming routine around the scratch board, a beginner’s guide to dog grooming and the broader dog care resources on the site cover brushing, bathing, and ear care that pair naturally with regular nail maintenance.
FAQ
The bottom line
A scratch board earns its spot in a nail-care routine as a low-stress, blade-free way to keep front nails maintained between trims, especially for dogs who panic at clippers or grinders. It is not a complete nail-care solution on its own. Dewclaws, most rear nails, and the sides of curved nails usually need a clipper or grinder to get full coverage, so compare the options and expect to keep both tools within reach. Start with short, reward-based sessions, check paw pads for irritation, and schedule a full trim on the same roughly 3-to-4-week cycle most dogs need regardless of how well the board is working.
If your dog has ongoing nail sensitivity, overgrown dewclaws, or signs of pad irritation, confirm a plan with your veterinarian before relying on any single tool.
Doggy Rank IQ is reader supported. As an Amazon Associate we earn from qualifying purchases, at no extra cost to you.